Understanding the Importance of Lighting
When it comes to portrait photography, lighting plays a crucial role in capturing flattering and beautiful images. It has the power to enhance facial features, create depth and dimension, and set the mood of the photograph. Understanding the importance of lighting is essential in perfecting your portrait photography skills.
The Role of Lighting in Portrait Photography
Lighting can make or break a portrait. The way light falls on your subject can drastically affect the overall feel and look of the image. By manipulating light, you can highlight certain features or soften harsh shadows, ultimately creating a more flattering and professional portrait.
There are various types of lighting techniques used in portrait photography, each with its own unique effects. Natural light, studio light, and off-camera flash are commonly used options. Natural light creates a soft and natural atmosphere, while studio light allows for more control and precision. Off-camera flash provides flexibility and the ability to add drama and dimension to your portraits.
The Impact of Lighting on Facial Features
Different lighting setups can drastically alter the appearance of facial features. Hard lighting, for example, can bring out texture and create more defined shadows, while soft lighting produces a more even and flattering complexion. Understanding how lighting affects facial features can help you choose the right setup to accentuate your subject’s best features.
Mastering portrait photography lighting techniques takes time and practice. By understanding the importance of lighting, experimenting with different setups, and observing the impact on facial features, you can perfect your portrait photography skills and capture stunning and flattering portraits.
Essential Equipment for Portrait Photography Lighting
To capture stunning and flattering portraits, having the right equipment is essential. Let’s delve into the key components you’ll need for perfect portrait photography lighting.
Camera and Lens
A high-quality camera and lens combination is crucial for achieving professional-looking portraits. Opt for a camera with a wide dynamic range and low noise performance to capture all the intricate details. A lens with a wide aperture, such as a prime lens, helps create a shallow depth of field, focusing attention on the subject and producing that desirable creamy background blur.
Lighting Equipment
Investing in reliable lighting equipment is a game-changer for your portrait photography. Consider using studio strobes, which provide consistent and powerful light. These strobes allow you to accurately control light intensity, temperature, and direction, empowering you to shape the lighting precisely to your liking.
Modifiers and Reflectors
Modifiers play a crucial role in controlling the quality and direction of light. Softboxes and diffusers create a soft and even light, minimizing harsh shadows. Reflectors bounce light back onto the subject, filling in shadows and adding a flattering glow. Experiment with different modifiers to achieve the desired effects for your portraits.
With the right camera, lens, lighting equipment, and modifiers, you’ll be well on your way to mastering portrait photography lighting for captivating and flattering portraits.

This image is property of images.pexels.com.
## Mastering Natural Light for Portraits
The Golden Hour
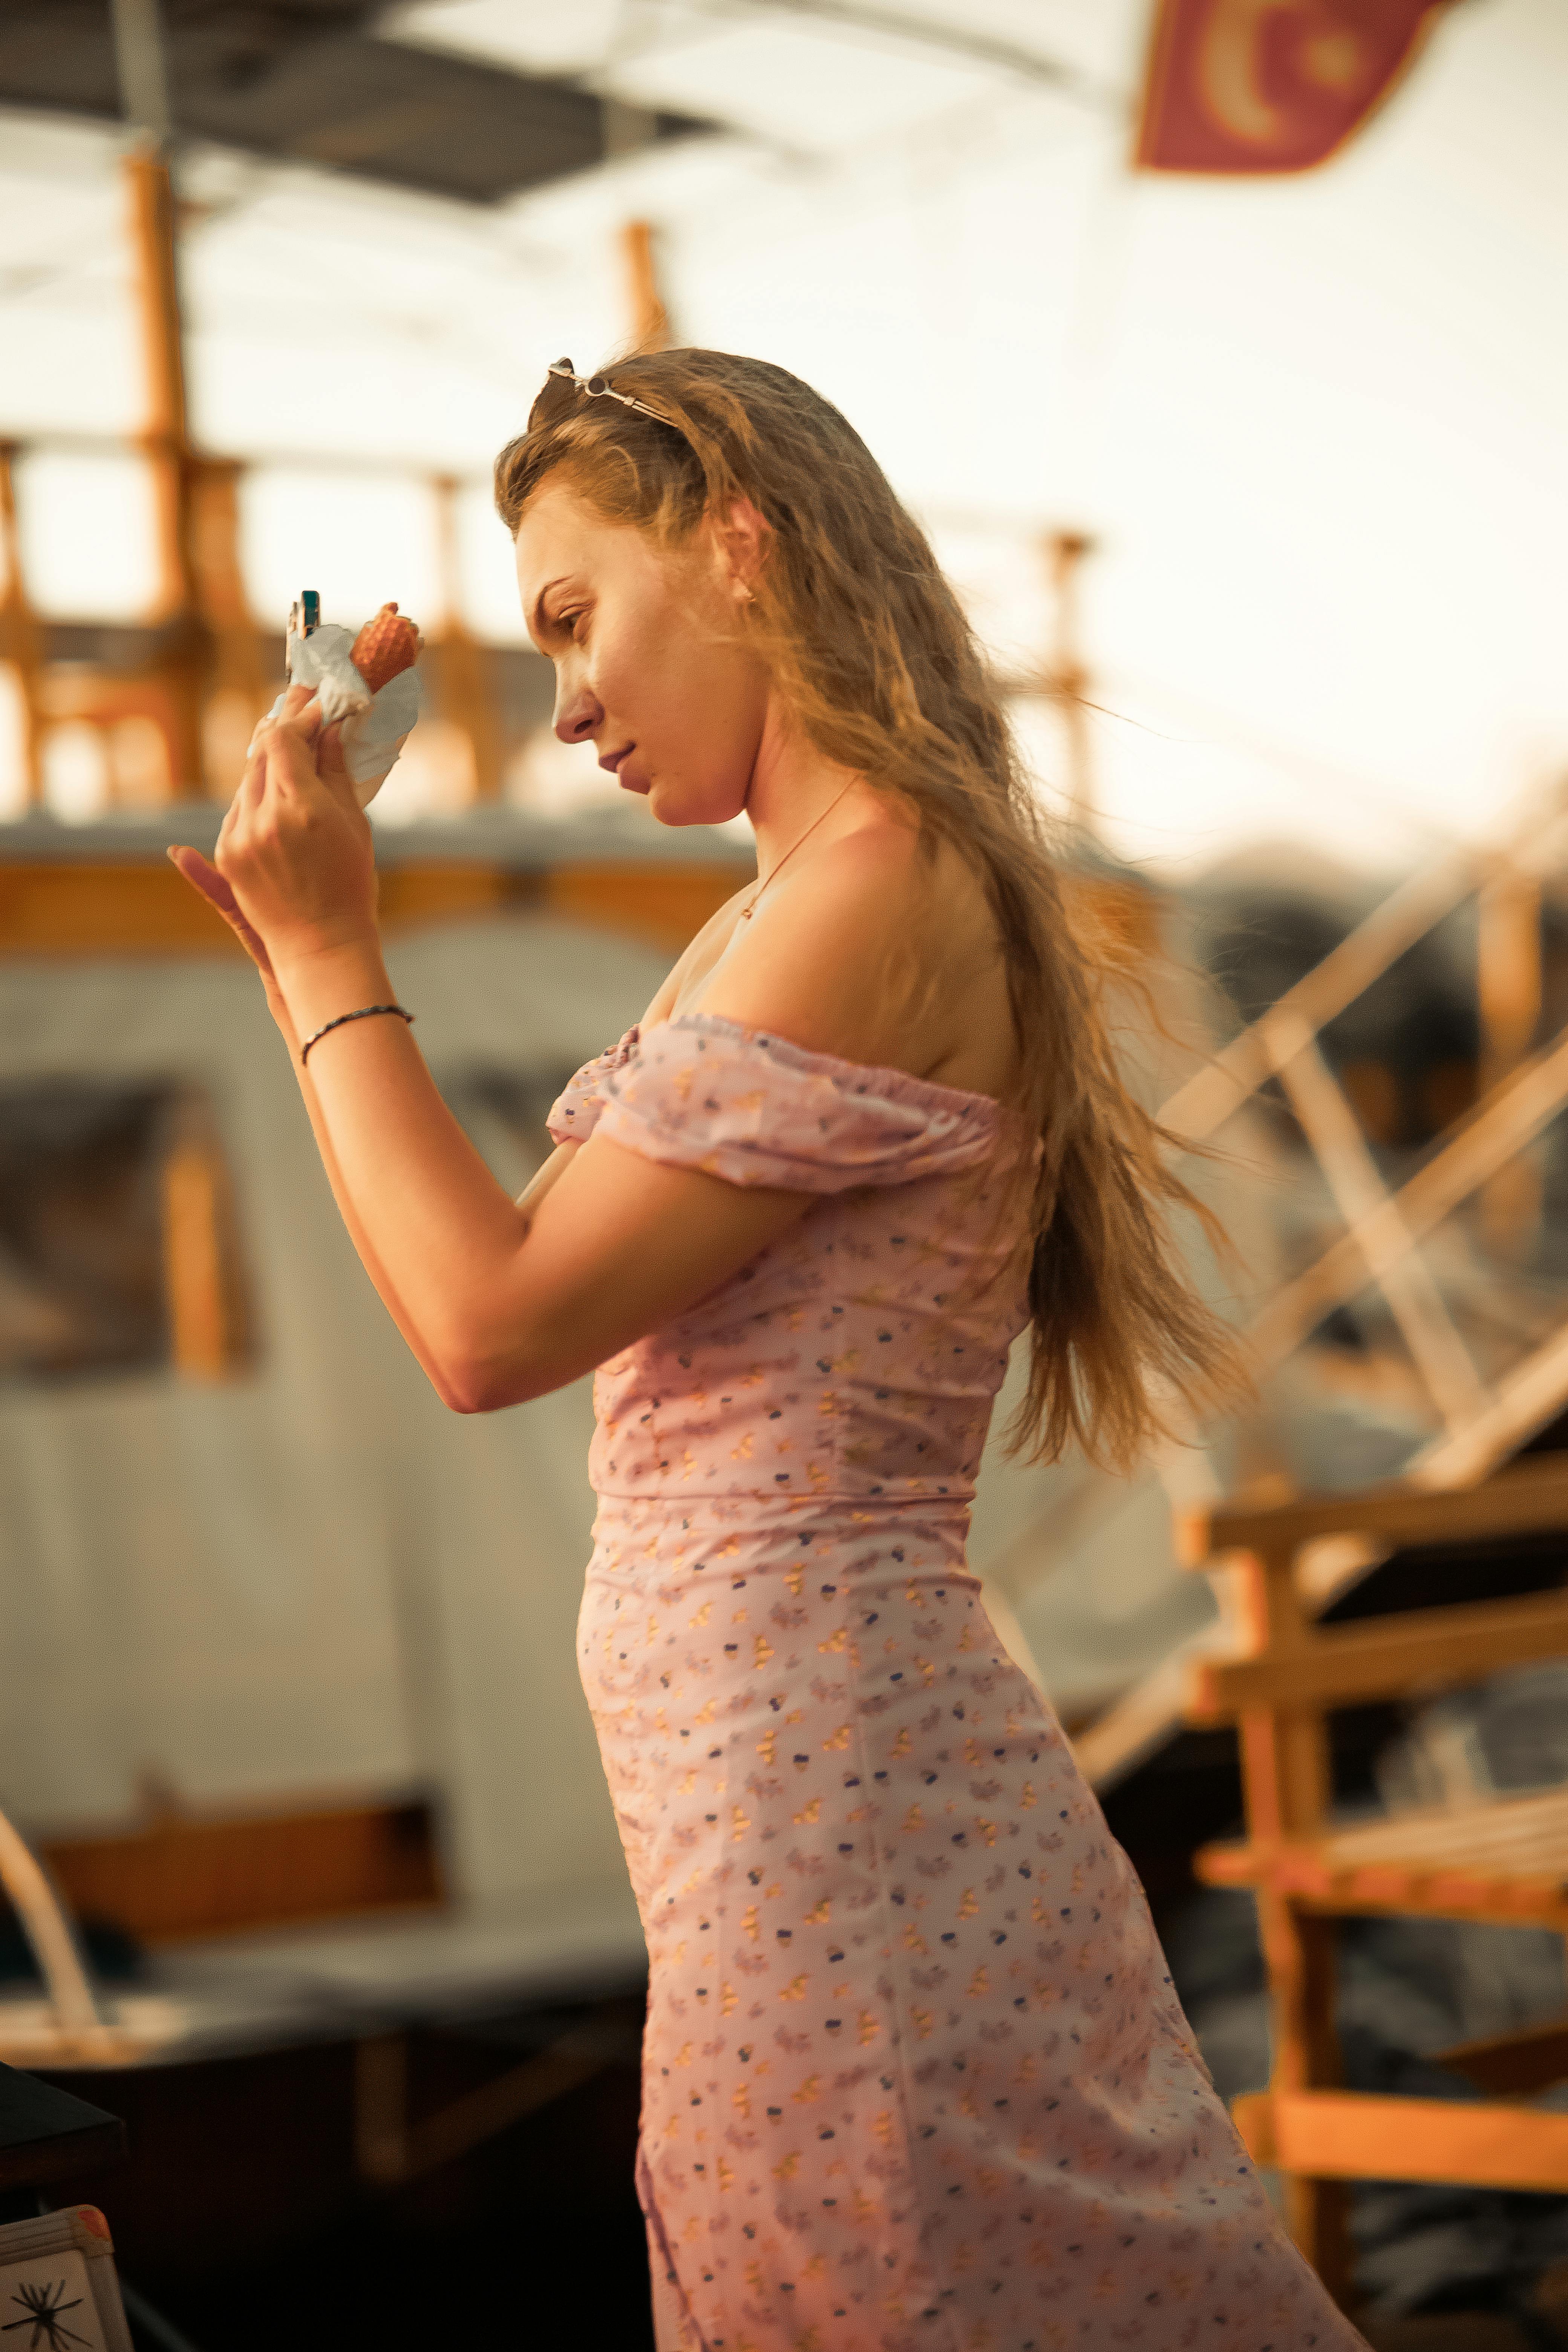
One of the most magical times for outdoor portrait photography is the Golden Hour, also known as the magic hour. It occurs during the hour after sunrise or before sunset when the sun is low on the horizon, resulting in soft, warm, and flattering light. The diffused light during this time creates gentle shadows that add depth and dimension to your subjects’ features, making them glow.
Using Shadows Creatively
Shadows can be your best friend when it comes to portrait photography. They can help create depth and shape, making your portraits more dynamic and interesting. Play with different angles and positions to see how shadows can enhance your subject’s features. Don’t be afraid to experiment and use shadows to add a touch of drama to your images.
Diffusing Harsh Sunlight
Sometimes, you may find yourself shooting portraits during midday when the sunlight is harsh and creates unflattering shadows. In such situations, it’s important to find ways to diffuse the sunlight. You can use natural diffusers like trees or buildings to create softer lighting conditions, or try using a reflector or diffuser to scatter and soften the light falling on your subject’s face. This will result in even, flattering light without the harshness.
By mastering natural light and utilizing the techniques mentioned above, you can perfect your portrait photography lighting and capture stunning, flattering portraits.

This image is property of images.pexels.com.
## Using Artificial Light for Portraits
One of the key factors in capturing flattering portraits is understanding how to master portrait photography lighting. While natural light can be wonderful for outdoor shoots, artificial lighting allows you to have more control over the overall look and feel of your images. In this section, we will explore the different aspects of using artificial light to capture stunning portraits.
Choosing the Right Artificial Lighting
When it comes to artificial lighting, there are various options available to you, such as strobes, continuous lights, or speedlights. Each type has its own advantages and disadvantages, so based on your specific needs and budget, you can choose the one that suits you best. Experimenting with different lighting equipment will help you understand which one complements your subjects and enhances their features.
The Three-Point Lighting Technique
The three-point lighting technique is widely used in portrait photography as it ensures even illumination and creates a sense of depth in your images. This technique involves using three lights: the key light, the fill light, and the hair light. The key light is the primary light source that highlights the subject’s features, while the fill light helps balance the shadows. Lastly, the hair light helps separate the subject from the background, giving them a more defined and three-dimensional appearance.
Balancing Ambient and Artificial Light
Achieving a natural-looking portrait often requires a balance between ambient light and artificial light. Incorporating ambient light into your portrait setup helps create a more organic and flattering atmosphere. However, it is crucial to consider how ambient light affects the overall exposure and color temperature of your image. By understanding how to manipulate artificial light to match the existing ambient light, you can create a harmonious and well-lit portrait.
Mastering portrait photography lighting takes time and practice, but by experimenting with different artificial lighting techniques, you can enhance the overall quality and visual appeal of your portraits.
Understanding the Quality of Light
Capturing flattering portraits requires a good understanding of the quality of light. Light can be categorized into two main types: soft and hard light. Soft light produces smooth, diffused shadows and is ideal for creating a gentle, flattering look. On the other hand, hard light creates sharp, defined shadows, which can add drama to your images.
Soft Light vs. Hard Light
Soft light is best achieved by shooting outdoors on a cloudy day or using diffusers or reflectors to soften the harshness of direct sunlight. This type of lighting minimizes skin imperfections and creates a natural, pleasing ambiance. Conversely, hard light can be created by using a small, focused light source such as a speedlight or direct sunlight. This technique can add depth and dimension to your portraits, emphasizing textures and creating a more dramatic effect.
Creating Depth and Dimension
To enhance the depth and dimension of your portraits, strategically place your light source to create shadows that accentuate facial features and contours. Experiment with different angles and positions, such as side lighting or backlighting, to add depth and shape to your subject’s face.
Avoiding Unflattering Shadows
Carefully manage the placement of your light source to eliminate unflattering shadows. Harsh shadows under the eyes, chin, or nose can make someone appear tired or older. Use reflectors or fill lights to soften these shadows and create a more even lighting distribution.
By understanding the qualities of light, experimenting with different lighting techniques, and mastering shadow control, you can consistently produce captivating and flattering portrait images.

This image is property of images.pexels.com.
## Positioning and Directing the Light
Front Lighting for Balance
When it comes to portrait photography lighting, the position and direction of light play a crucial role in achieving flattering and balanced portraits. By positioning the light in front of your subject, you can achieve an even distribution of light across their face, minimizing shadows and creating a balanced and natural-looking image. This is particularly useful when you want to highlight your subject’s features and create a soft and flattering look.
Backlighting for a Dramatic Effect
If you’re looking to add a touch of drama to your portraits, consider using backlighting. By positioning the light source behind your subject, you can create a stunning halo effect and a sense of depth in your images. This technique works especially well for outdoor portraits, as it can provide a natural glow and make your subject stand out against the background.
Side Lighting for Texture and Shape
To add texture and shape to your portraits, try using side lighting. By positioning the light source to the side of your subject, you can create interesting shadows and highlights, accentuating the contours of their face and bringing out their unique features. This technique is particularly effective for creating dramatic and artistic portraits.
Remember, experimenting with different lighting techniques and angles will allow you to find the perfect balance and create flattering and captivating portraits.
Controlling the Light Intensity
Capturing flattering portraits relies heavily on controlling the intensity of the lighting in your photographs. Understanding exposure is crucial as it determines the brightness or darkness of an image. To achieve the perfect exposure, you need to balance the available light with the three main components of exposure: aperture, shutter speed, and ISO.
Understanding Exposure
Aperture refers to the size of the lens opening and controls how much light enters the camera. By adjusting the aperture, you can control the depth of field and achieve a desired level of sharpness or blur.
Shutter speed determines the amount of time the camera’s shutter remains open. A faster shutter speed freezes action, while a slower one creates motion blur. Adjusting the shutter speed allows you to control the amount of light that reaches the sensor.
ISO, on the other hand, determines the camera’s sensitivity to light. A lower ISO results in less noise but requires more light, while a higher ISO is more sensitive but can introduce graininess. Balancing these three factors is key to achieving the desired exposure.
Using Light Meters
A light meter aids in measuring the available light and helps you set the proper exposure. By measuring the intensity of the light falling on your subject, you can get accurate readings and adjust your camera settings accordingly.
Adjusting Aperture, Shutter Speed, and ISO
To control the light intensity, experiment with different combinations of aperture, shutter speed, and ISO. For well-lit environments, a small aperture, fast shutter speed, and lower ISO may be appropriate to avoid overexposure. In low-light situations, a larger aperture, slower shutter speed, and higher ISO can help capture more light.
Perfecting portrait photography lighting for flattering portraits involves understanding exposure and making precise adjustments to create the ideal lighting situation. By mastering the art of controlling light intensity, you can capture stunning portraits that highlight the true beauty of your subjects.
Working with Light Modifiers
Umbrellas and Softboxes
When it comes to perfecting portrait photography lighting, working with light modifiers is essential. Umbrellas and softboxes are two popular options that can help create soft, diffused light for a flattering effect. Umbrellas are lightweight and portable, making them great for on-location shoots. They come in different sizes and can be used in various ways to control the light. Softboxes, on the other hand, provide more control as they direct the light more precisely. They come in different shapes and sizes, allowing you to achieve different lighting effects depending on your subject and desired outcome.
Beauty Dishes and Ring Lights
Beauty dishes are another great tool for creating flattering portrait lighting. They provide a soft, even light that enhances the subject’s features and creates a beautiful glow. Ring lights, on the other hand, produce a unique, shadowless look by surrounding the camera lens with light. They are particularly ideal for close-up shots, highlighting the subject’s facial features and creating a captivating portrait.
Using Reflectors and Bounce Cards
Reflectors and bounce cards are versatile and inexpensive tools that can significantly improve your portrait lighting. Reflectors bounce light back onto your subject, filling in shadows and adding a natural-looking glow. They come in various colors and surfaces, allowing you to choose the desired effect. Bounce cards, on the other hand, are small white cards that reflect light and fill in shadows. They can be easily handheld or attached to a stand, providing control over the direction and intensity of the bounced light.
By understanding and experimenting with different light modifiers, you can perfect your portrait photography lighting and achieve flattering portraits every time. These tools give you the flexibility to create the desired mood and highlight the best features of your subjects, resulting in stunning and memorable photographs.
Understanding Color Temperature
When it comes to portrait photography lighting, understanding color temperature is essential for capturing flattering portraits. Color temperature refers to the warmth or coolness of light and greatly impacts the overall mood and tone of the image.
Warm vs. Cool Lighting
Warm lighting, marked by yellow and orange tones, tends to create a cozy and intimate atmosphere. It is often used to evoke feelings of comfort and happiness. On the other hand, cool lighting, characterized by blue and green tones, can produce a calming and serene effect, ideal for creating a sense of tranquility in portraits.
Utilizing Color Gels
One way to experiment with color temperature is by utilizing color gels. These transparent sheets of colored acetate can be placed over your light source to introduce specific colors to your portraits. Experimenting with different gels can add dimension and creativity to your images while enhancing the overall mood.
White Balance and Color Correction
To ensure accurate color representation in your portraits, adjusting the white balance is crucial. White balance refers to the process of neutralizing any color casts caused by the light source. Understanding and using white balance settings on your camera can help produce true-to-life colors in your portraits, creating a more flattering and realistic result.
By understanding color temperature, utilizing color gels, and mastering white balance, you can perfect the portrait photography lighting techniques needed to capture flattering and captivating portraits.
How to Perfect Portrait Photography Lighting for Flattering Portraits?
Creating a Mood with Lighting
Lighting plays a crucial role in portrait photography. It has the power to set the mood and create a captivating image. One technique to achieve this is by adding drama with low-key lighting. By using soft, directional light and casting shadows, you can emphasize certain features and create a mysterious ambiance for your subjects.
Another technique to enhance the details in your portraits is by using high-key lighting. This involves evenly lighting your subject, which eliminates shadows and highlights every intricate detail. It works exceptionally well for subjects with flawless skin or delicate features, providing a bright and airy feel to the photograph.
If you want to add an extra element of impact to your portraits, consider using colored lighting. By adding gels or utilizing colored backdrops, you can create a unique and eye-catching effect. Blue lighting can evoke a cool and calm mood, while red can create a sense of passion and intensity.
Experimenting with different lighting techniques can drastically transform the mood and overall quality of your portraits. Remember to always consider the desired outcome and the story you want to tell with your photographs.
